Fixing Uneven Concrete Before Self-Leveling
Grinding, patching, screeding — how uneven concrete is corrected before self-leveling. When SL alone won't fix slope.
The short answer
We often see facility managers assume that pouring a thick liquid coating will magically erase every dip and hump on an aging slab.
That expectation usually leads to expensive failures because addressing uneven concrete before self leveling epoxy requires physical substrate correction first. Our approach relies on measuring the exact variance and matching it to the right repair method.
You can see how this preparation fits into the final finish by reviewing our self-leveling epoxy flooring process.
What this guide covers
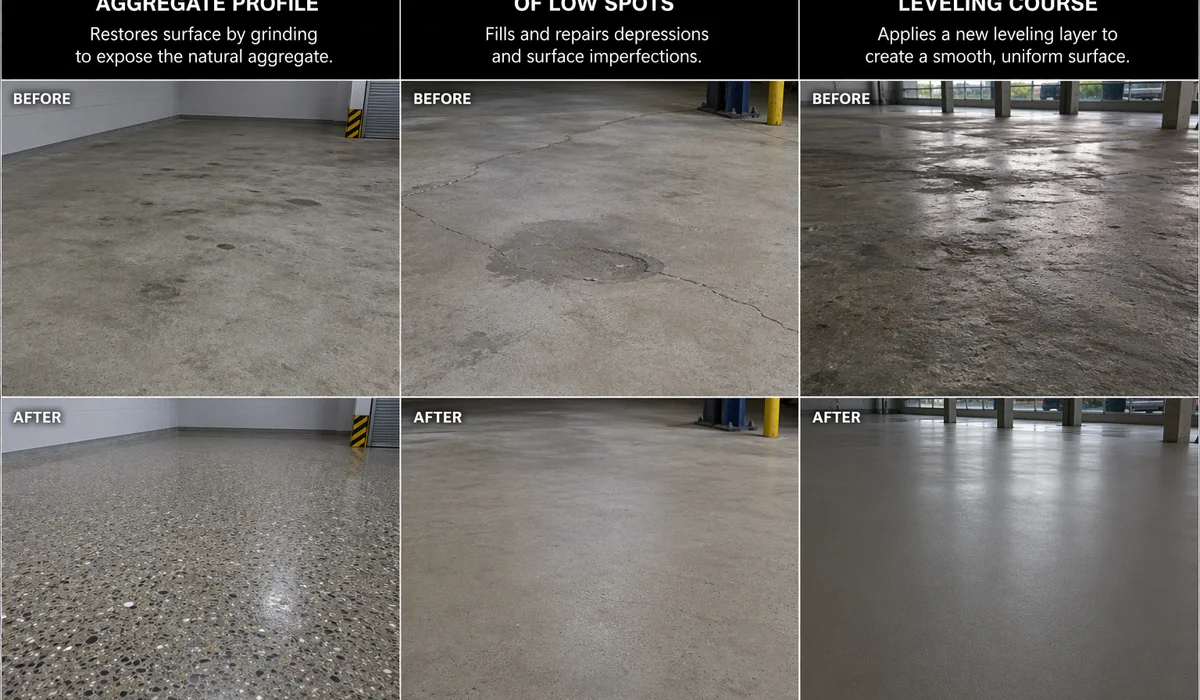
Our site assessments across Pasir Gudang reveal that substrate correction falls into three distinct methods depending on the damage depth. Fixing these issues correctly dictates the longevity of your new surface. We evaluate the concrete flatness for epoxy by looking at these specific correction thresholds:
- Minor imperfections (0-3mm): Mechanical diamond grinding reduces high spots and opens the concrete pores.
- Medium depressions (3-5mm): Trowel-applied epoxy patching compounds fill localised craters and cracks.
- Major damage (5mm+): Full screed underlayments rebuild the structural integrity of the slab.
- Drainage issues: Specialised sloping techniques create the necessary 1 to 2 % fall required by Malaysian food safety standards.
Grinding for high spots (up to ~3mm correction)
We always start substrate preparation by addressing the high spots with heavy-duty planetary diamond grinders. These industrial machines spin 30-grit metal bond diamonds to slice off up to 3mm of raised concrete.
”A liquid epoxy coating will follow the existing contour of your floor. If you have a 3mm hump, you will have a 3mm hump in your glossy new finish unless you grind it flat first.”
Our goal is to achieve an International Concrete Repair Institute (ICRI) standard surface profile of CSP 3. This specific texture feels similar to medium-grit sandpaper, allowing the primer to soak deeply into the slab.
We find that surface preparation easily consumes 40 to 50 % of the total project man-hours. Skipping this step is a guaranteed way to cause early delamination. Our technicians use mechanical grinding before self leveling because chemical etching simply cannot flatten a wavy factory floor.
Patching compounds for medium unevenness
We encounter isolated craters, spalled areas, and deep gouges on almost every commercial flooring project. Standard self-levelling liquids are too thin to bridge these medium depressions, which typically range from 3mm to 5mm deep.
Our solution involves trowelling a 100 % solids epoxy patching compound directly into the voids. This thick, paste-like material cures much harder than standard concrete, preventing heavy forklift traffic from shattering the repair. We maintain a strict curing protocol for these localised repairs.
The Patching Protocol
Here is the exact sequence used to patch concrete floor sections effectively:
- Clean and route: Diamond blades chase the crack to expose clean, uncompromised cement.
- Vacuum extraction: Industrial vacuums remove all micro-dust, which acts as a bond breaker if left behind.
- Prime the void: A low-viscosity resin wets out the pores to ensure maximum adhesion.
- Trowel the mortar: The heavy epoxy putty is forced into the hole and scraped flush with the surrounding surface.
- Cure time: The patch must sit for 12 to 24 hours before the final topcoat application.
Our crews always run a hand grinder over the cured patch the next morning. That quick pass removes any slight ridges left by the trowel, guaranteeing a perfectly flat transition.
Screed underlayment for >5mm correction
We specify a full screed underlayment when a floor has widespread wave-like variations exceeding 5mm. Patching hundreds of individual holes becomes cost-prohibitive and structurally inefficient at that scale.
Our preferred method for these heavily degraded slabs is installing an epoxy mortar or a cementitious polyurethane screed. These heavy-duty underlayments can be applied anywhere from 5mm to 10mm thick, essentially creating a brand new slab on top of the old one. We often recommend polyurethane screeds for food and beverage manufacturing plants in Malaysia.
| Screed Type | Best Application | Key Benefit |
|---|---|---|
| Epoxy Mortar | Heavy manufacturing, dry processing | Extreme compressive strength for heavy machinery |
| PU Cementitious | Commercial kitchens, wet processing | High resistance to thermal shock from boiling water |
Our teams rely on these thick underlayments to act as a powerful moisture barrier. Groundwater vapour rising through a slab is a leading cause of coating failure in tropical climates. We guarantee that locking out this moisture with a 5mm screed will dramatically extend the lifespan of the final topcoat.
When self-leveling alone won’t fix slope (drainage floors)
We manually trowel structural underlayments to fix slopes because self-levelling epoxy naturally fights any gradient to settle completely flat. The liquid will simply run down the incline and pool at the bottom, leaving your top edges completely exposed.
Our specialists follow the Malaysian Standard (MS 1514) Good Manufacturing Practices, which recommend a 1 to 2 % drainage slope for wet processing floors. Achieving this specific fall requires a completely different approach than a standard flat pour. We use a thick epoxy or polyurethane mortar to manually sculpt the necessary gradient flowing to the drainage trenches.
”Sloping a floor is an art form. The material must hold its shape without slumping while providing a smooth enough finish to prevent bacterial growth in the pores.”
Our teams only apply the final thin-film protective coating after the structural slope has fully cured. This two-step process ensures the floor meets safety inspections while providing exceptional chemical resistance.
For a closer look at related considerations, read our Self-Leveling Epoxy for Warehouses and Production Floors guide.
What to do next
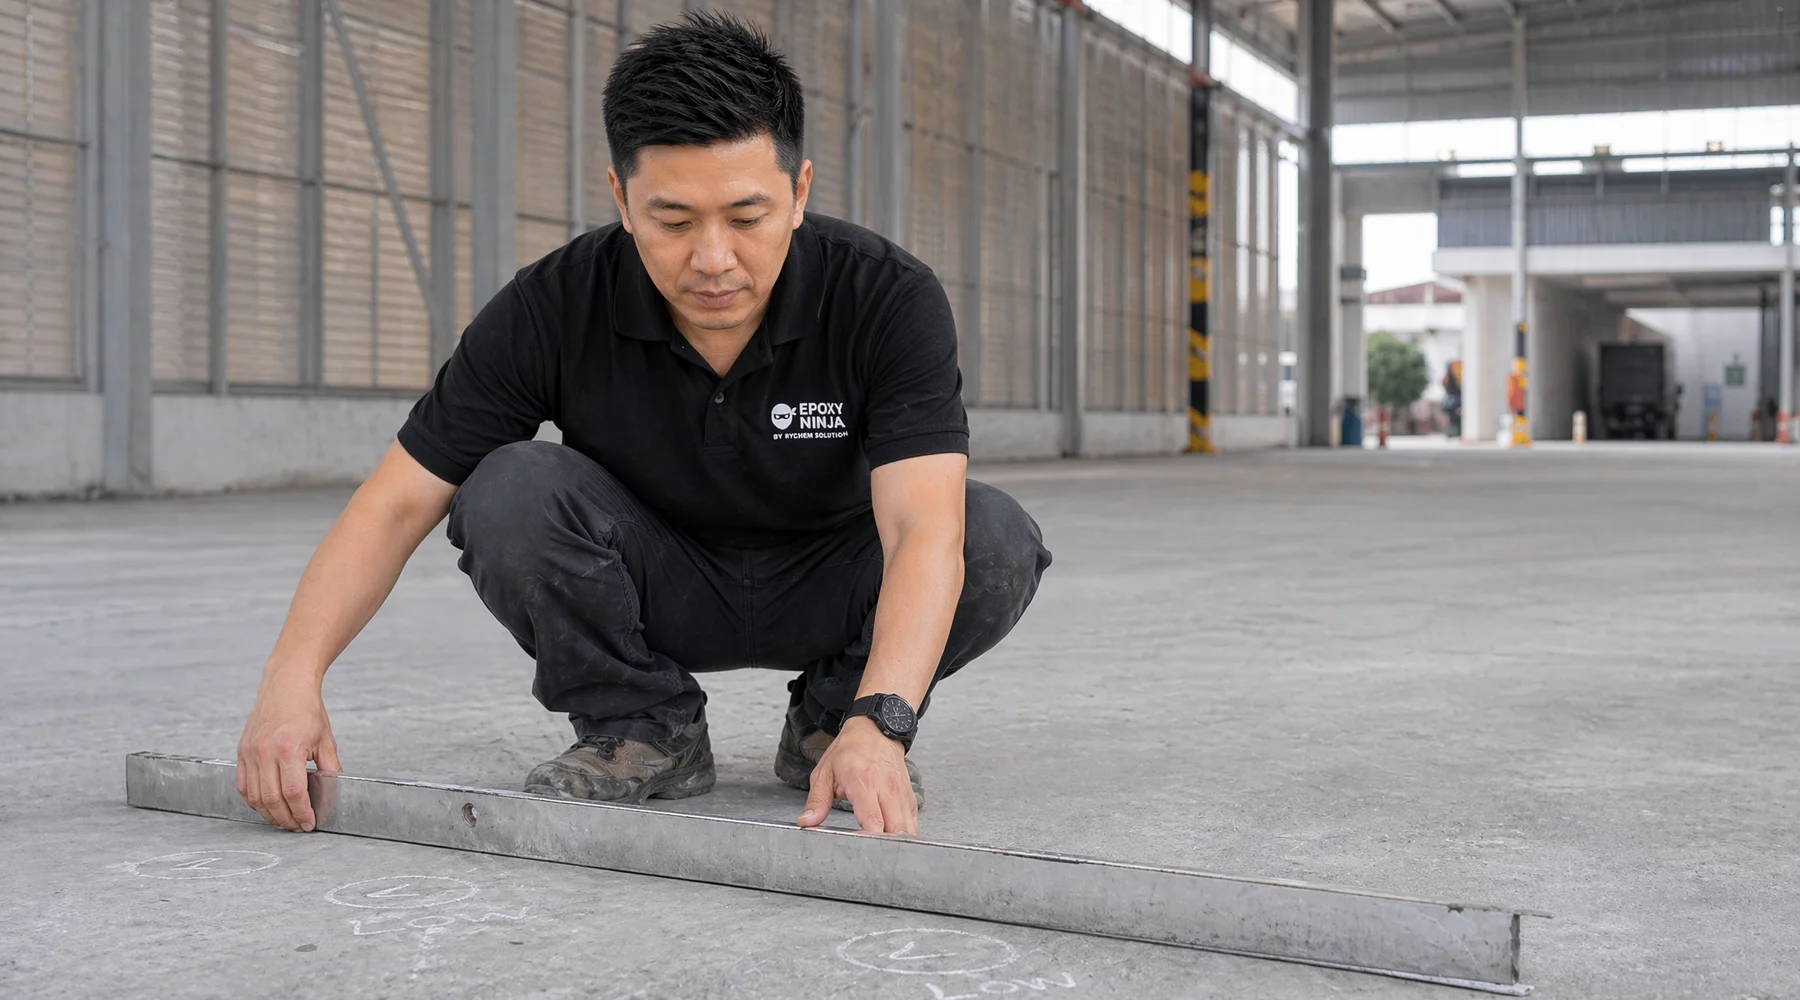
We know that guessing the exact depth of your surface variations is nearly impossible without the right tools.
The fastest way to get clarity on your facility is to schedule a free site visit. Our specialists will bring a Tramex CMEX5 moisture meter, walk the substrate, and document the chemical and thermal exposure of the space.
You will receive a written BQ with honest cost paths based on actual measurements, not estimates. We proudly offer same-day response times across JB, Pasir Gudang, Skudai, Senai, and Iskandar Puteri.
Every floor requires a unique preparation strategy, so getting an expert set of eyes on the concrete is the smartest first move. Our complete system specifications are detailed on the Self-Leveling Epoxy Flooring service page if you want to understand the final layers.
Fast answers.
How flat does my concrete need to be for self-leveling?
Target F-number 25+ across the slab. Anything rougher needs grinding, patching, or underlayment before the pour.
Can SL epoxy flow to meet a floor drain slope?
No — self-leveling flows horizontally. Slope needs to be built into the substrate via grinding or screeding first.
How much does substrate correction add to cost?
Light grinding: minimal. Heavy patching: RM8-20/sqft. Full screed underlayment: RM25-50/sqft on top of the SL system.
More in this cluster.
Self-Leveling Epoxy for Warehouses and Production Floors
Forklift-rated self-leveling epoxy for warehouses, 3PL operations, and production floors. Thickness, dust control, line marking.
Self-Leveling Epoxy vs Standard Epoxy Coatings: Thickness, Cost, Durability
Thin-film epoxy vs self-leveling — thickness, substrate tolerance, durability, appearance, cost. Which is right for your floor?
Ready for a real assessment? Free Tramex scan.
Guides are the general case. A site visit gives you the specific answer for your slab, your chemicals, and your operational conditions.